Pitching the Cirriform DW
We strongly advise practicing your pitch before using your shelter to develop familiarity with the setup.
There is no single, correct way to pitch your shelter. We’ve done it a variety of ways and continue to experiment. Here is one method that we recommend trying first.

Clip the net-tent to the tarp
- Clip the mitten hook on the net-tent’s front peak to the dee-ring located on the underside of the tarp’s front peak.
- Clip the mitten hook on the net-tent’s rear peak to the dee-ring located on the underside of the tarp’s rear peak.
- At each of the top four floor corners, take the shock cord and clip it to the cord loop at the tarp’s corresponding corners.
- At each of the bottom four floor corners, take the shock cord and clip it to the tent stake loop of the tarp’s corresponding guyline.
(Click here to learn how to easily adjust the length of the shock cord.)

Stake out the corners
- Set all corner guylines to have approx. 6” tails.
- Stake one rear corner then pull the other rear corner straight across (so that the guylines are in-line with each other). Back off about 6” and stake.
- Stake out the front corners so that the sides are taut and symmetric about the centerline.

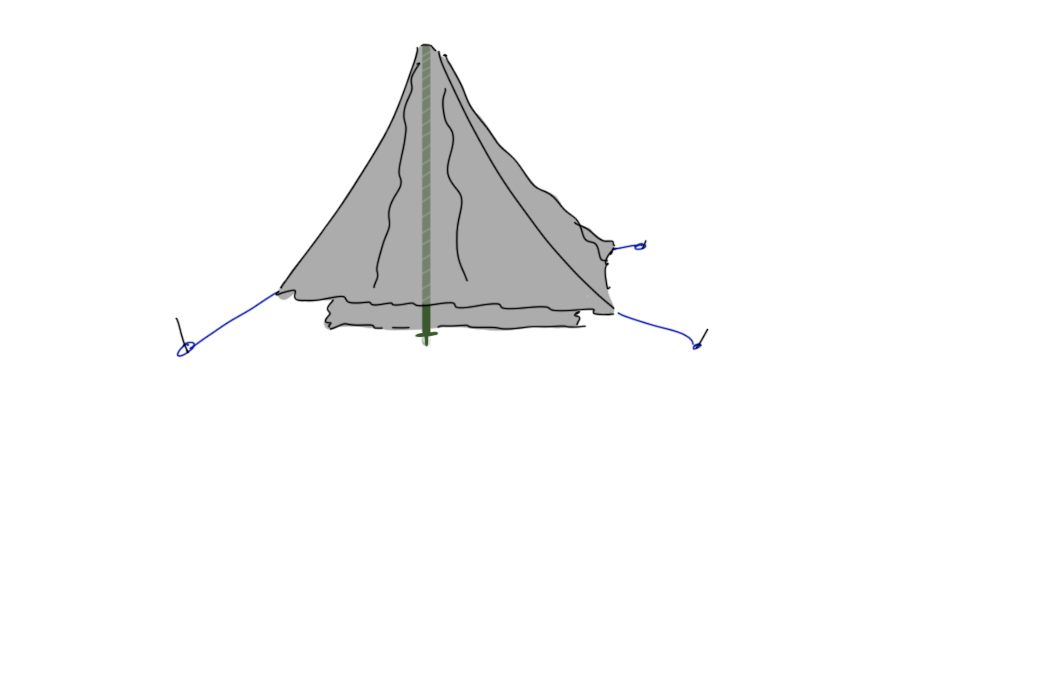
Place the front pole
- Set your trekking pole length to approximately 43” (1P) or 49" (2P).
(If eyeballing the length of your trekking pole, click here.) - Place the pole so the tip points down and the handle nests in the front peak; you may need to loosen the guylines slightly.
(If using the optional tent pole, place the pole’s tip into the grommet on the underside of the peak and position vertically.)
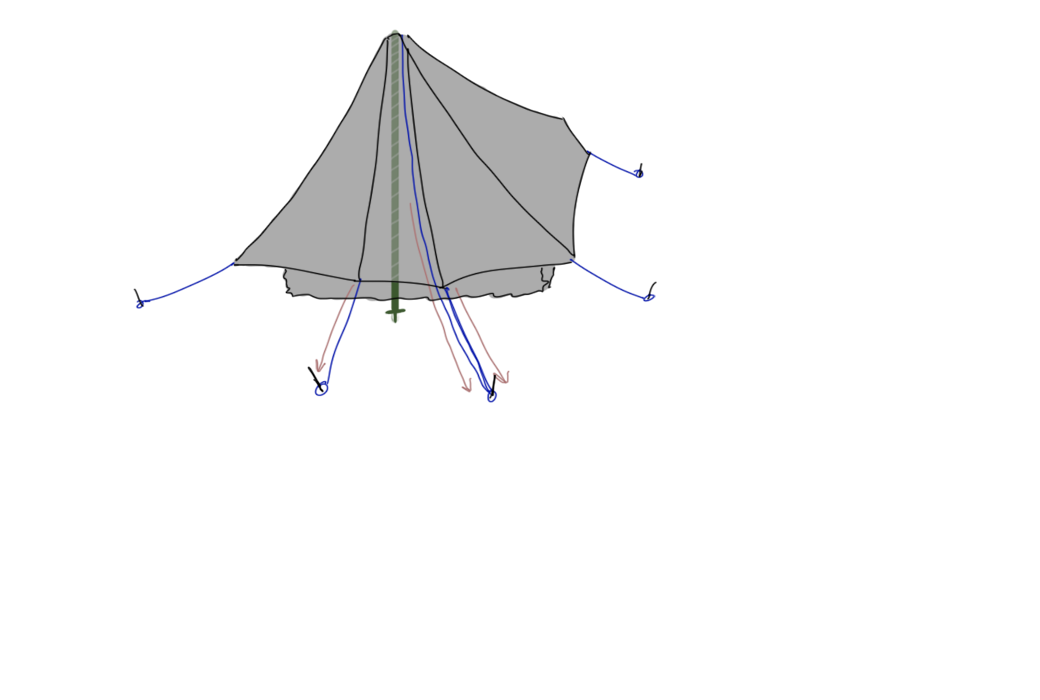
Place the rear pole and stake out the rear beak
- Set your trekking pole length to approximately 29" (1P) or 36" (2P).
- Insert the pole's tip into the grommet on the guyline. Position the pole vertically and far enough away from the shelter to avoid interference with the beak. The pole should be taller than the peak to provide some upward pull on the peak.
(To save about 0.1 oz, you can remove the grommet. See additional options for rear pole placement that don't require the grommet here.) - Stake out the rear peak & beak using the same stake. Tension the guylines to remove slack and keep the pole upright.

Stake the front vestibule
- Stake out the two guylines on the front beak separately to pull the vestibule taut.
- Run the front peak guyline to the vestibule stake on the side opposite the zipper.
Perfect your pitch
- Tweak your pitch by adjusting stake locations and guyline tensions as needed to produce a taut and balanced pitch.